

Blocks are essential elements in WordPress website development. They make it easy for users to add components—such as text, images, videos, sections, and more—to any page. WordPress comes with built-in blocks comprising the basic components mentioned above; these are immediately available for use in the Gutenberg editor right after WordPress is installed. If the built-in blocks prove insufficient, the WordPress repository also offers free plugins that provide a wide range of additional block elements.
Issues arise when building a custom website where specific element requirements cannot be met by existing WordPress blocks—whether they are built-in or sourced from repository plugins. We want blocks that are perfectly tailored to the website we are building—nothing more, nothing less. This is precisely where the need to create a custom block plugin arises.
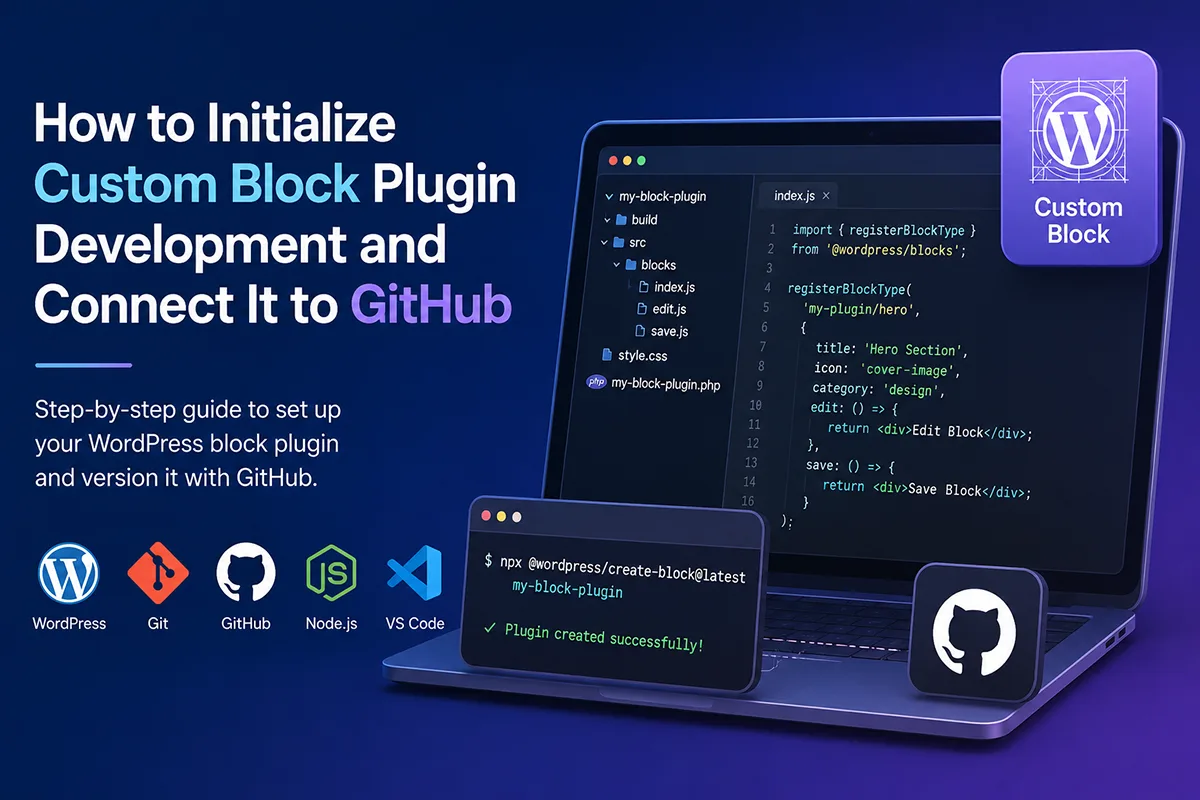
This article discusses the initial steps of developing a custom block plugin and linking it to GitHub. The scope is limited to the initiation phase, as a comprehensive guide to the entire development process would require a much more in-depth article; alternatively, you can consult the WordPress Block Editor Handbook directly. The steps outlined here are sourced from the WordPress Developer Blog, ensuring the information is reliable.
Before getting started, there are several tools that need to be installed on our devices: a local WordPress environment (we use Docker), Git, GitHub Desktop, Node.js, and a code editor (we use VS Code).
Here are the steps:
1. Plugin Setup
- Open your WordPress website’s plugins folder using a code editor. It does not matter whether the folder already contains plugins or not; the important thing is that you can run commands in that folder via the terminal.
- Open the terminal within the code editor. If you are using VS Code, you can go to Terminal -> New Terminal.
- Ensure the terminal is pointing to the plugins folder.
- Run the following command in the terminal:
npx @wordpress/create-block@latest nama-plugin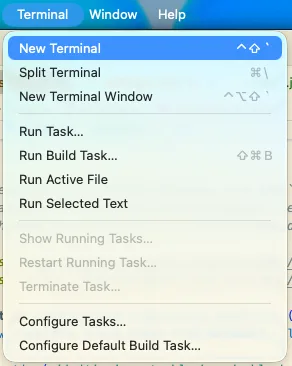
Replace nama-plugin with your desired plugin name. Upon successful completion, the plugin folder will be populated with various folders and files, such as src, build, and nama-plugin.php.
2. Git Initialization
After successfully setting up the plugin, we need to initialize Git to create the repository. In the terminal, navigate to the plugin directory by running the following command:
cd nama-pluginAfter navigating the terminal to the plugin directory, run the following command to initialize Git:
git init3. Choose Repository
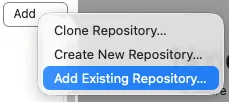
The next step after successfully initializing Git is to open GitHub Desktop. Ensure that GitHub Desktop is connected to your GitHub account. Click on Current Repository -> Add -> Add Existing Repository, then select the nama-plugin folder you created.
4. Commit Git
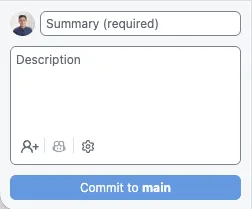
Once the plugin repository appears in GitHub Desktop, the next step is to commit. Fill in the summary field, then click the “Commit to Main” button.
Once the steps above have been completed, we are ready to develop the custom WordPress block plugin. Developing this plugin requires several programming languages, including PHP, CSS, JavaScript, and React. Happy developing!